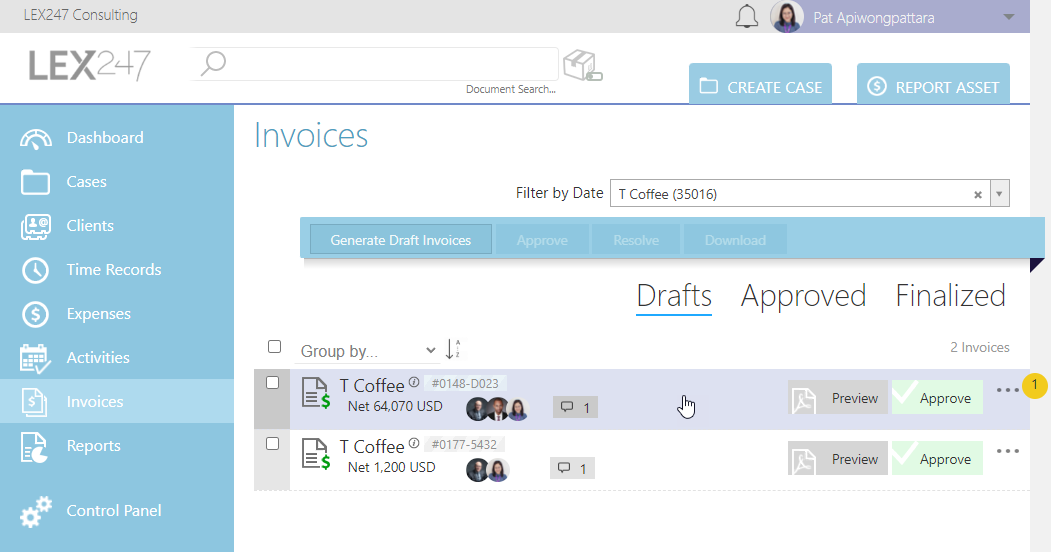
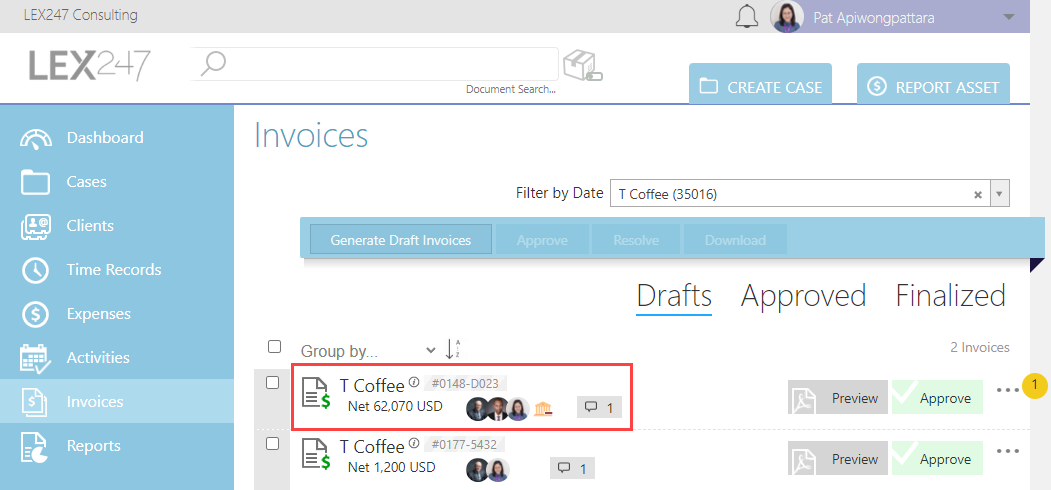
To add an Advance Payment on an Invoice, head over to the Main Card, Invoices-view, under the Drafts section.
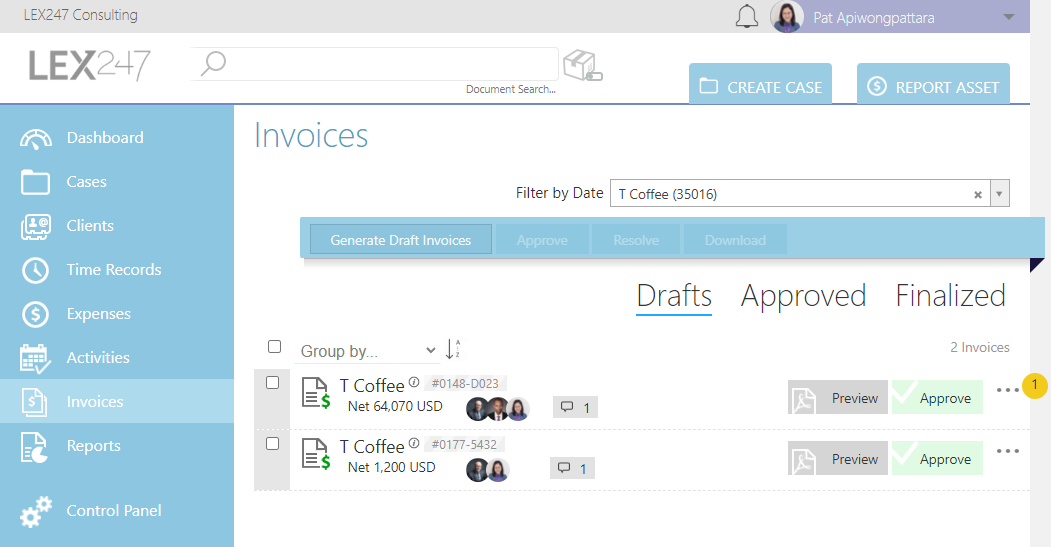
Hover your mouse cursor over an invoice and click on it to open the invoice.
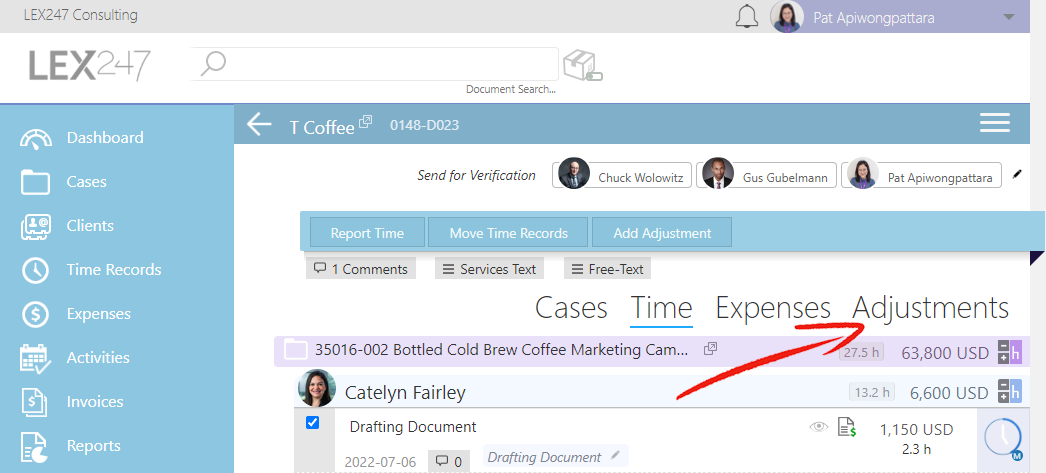
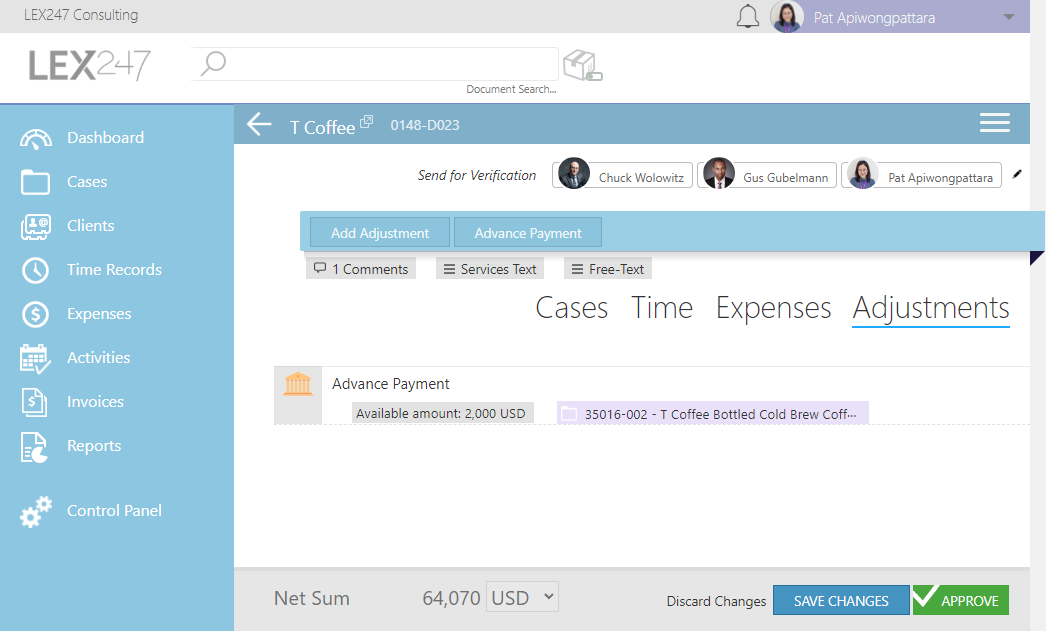
Once you are in the invoice, click on the Adjustments.
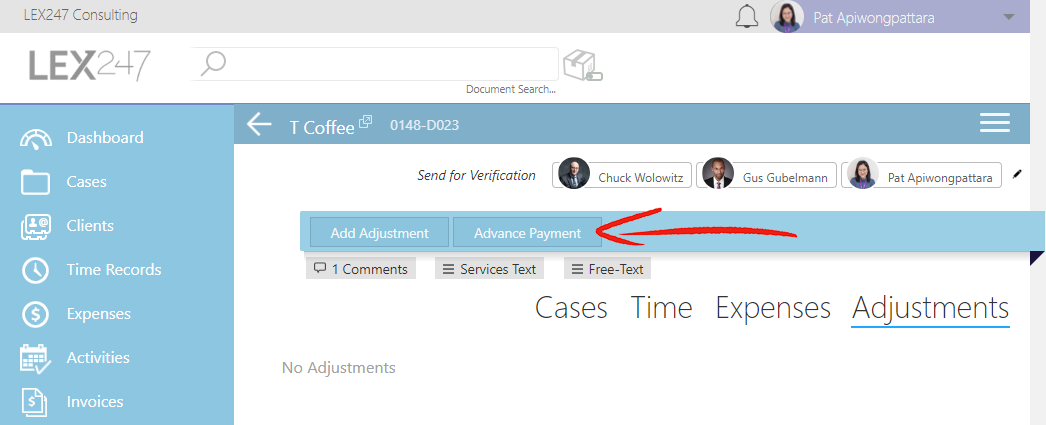
The Adjustments section will appear, click on the Advance Payment button.
The following dialogue will appear, then click on the Select... field.

Select the advance payment you wish to add from the drop-down dialogue.
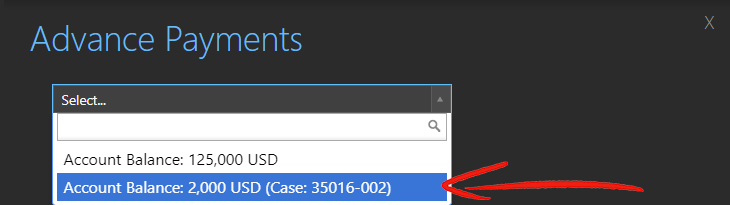
The list that appears here will only show the available advanced payment balance that is available for the case(s) that are on the invoice, or the advanced payment balance available on the client.
Select the advanced payment amount you wish to add and click on the Apply button.

The advance payment and its available amount will be applied and displayed under the Adjustments section as below.
Once you are done adding the advanced payment to the invoice, click on the Save Changes button if you wish to continue working on the invoice.

Or click on Approve to approve the invoice.

Once the advance payment has successfully been added to the invoice, there will be a Minus Advance Payment Icon ( ) displayed next to the list of invoice approvers.
Notes:
1. Ensure that you are a Client Manager, a Case Manager, or a User with 'Accounting'-rights setup to be able to add Advance Payment on invoices.
2. You can add multiple Advance Payments to an invoice if available.
3. Ensure that the VAT % on the Advance Payment matches the VAT % on the Invoice you created, if they do not match, then you will not be able to add that Advanced Payment amount to your invoice.